
Installing a Graco pump can significantly enhance your fluid handling process, whether you’re using it for painting, coating, or transferring liquids. Here’s a step-by-step guide to help you get started with your new pump installation.
1. Choose the Right Graco Pump
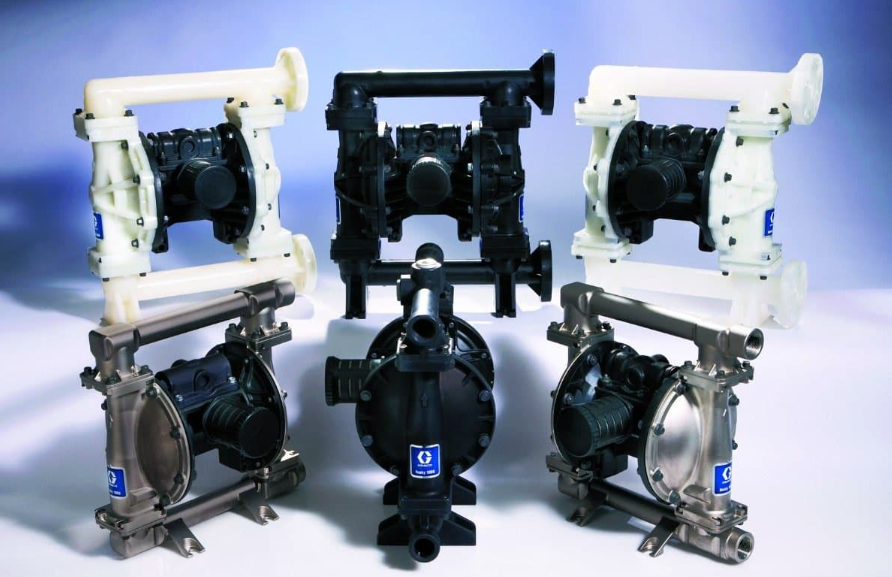
Before diving into the installation process, ensure you’ve selected the appropriate Graco pump for your specific needs. Graco offers a wide range of pumps designed for various applications, from airless paint sprayers to hydraulic systems. Consider factors like flow rate, pressure, and material compatibility. If unsure, consult with a supplier or a Graco representative to find the perfect fit.
2. Gather Necessary Tools and Materials
Before beginning the installation, gather all required tools and materials. You’ll typically need:
- A wrench set
- Screwdriver
- Teflon tape or pipe sealant
- Appropriate hoses and fittings
- Safety gear (gloves, goggles)
3. Prepare the Installation Area
Ensure the installation area is clean and free of debris. If replacing an old pump, disconnect and remove it first. Check the mounting surface for any damage and ensure it’s level, as this will affect the performance of your new pump.
4. Install the Pump Mounting Plate
Using the supplied hardware, attach the pump mounting plate to the surface. Ensure it is secure and level, as an uneven mount can lead to operational issues. Refer to the installation manual for specific torque specifications if provided.
5. Connect the Pump to the Supply Lines
Carefully attach the inlet and outlet hoses to the pump, using Teflon tape on the threads to ensure a tight seal. Ensure the hoses are routed correctly, avoiding any sharp bends that could impede flow. Secure all connections with the appropriate fittings and tighten them using a wrench.
6. Install the Electrical Connections
If your pump requires electrical power, follow the manufacturer’s guidelines to connect the electrical supply. Ensure all connections are secure and insulated to prevent shorts. If you are not confident in doing this, it may be wise to consult a qualified electrician.
7. Prime the Pump
Once everything is connected, it’s time to prime the pump. Open the inlet valve and allow the fluid to fill the pump. Follow the specific priming instructions in the user manual, as different models may have different requirements.
8. Test the Installation
After priming, run the pump for a few minutes to check for any leaks or unusual noises. If everything runs smoothly, congratulations! You’ve successfully installed your Graco pump.
Conclusion
Following this step-by-step guide will help you install your Graco pump effectively, ensuring optimal performance in your projects. Always refer to the user manual for specific instructions related to your pump model, and enjoy the efficiency and reliability that your new equipment brings to your work!